Features Agents Observer Pricing Changelog

Download SuperBased

Available for Windows and macOS. Free to use, auto-updates included.

macOS
Intel x64
Download
SHA-256 published per-release VirusTotal scan →
macOS
Apple Silicon
Download
SHA-256 published per-release VirusTotal scan →

Requires Windows 10+ or macOS 12+  ·  Auto-updates included

First time installing? See the Windows or macOS guide below.

Using Claude Code or another AI CLI? Install the headless version via npm — no GUI needed.

OV Code Signed  verified publisher Apple Notarized  Gatekeeper-approved Verified clean on VirusTotal
Watch a 30-second demo before you install
SuperBased 90-second walkthrough
Full walkthrough 1:23
SuperBased 30-second highlight
Quick highlight 0:30

Free Forever

Core features are completely free. Get 50 AI queries/day for your first month, then 10/day.

Auto Updates

SuperBased updates automatically in the background so you always have the latest features.

Lightweight

Optimized installer. Runs efficiently in the background with minimal resource usage.

Windows install guide

First time installing on Windows?

SuperBased is digitally signed by Gaja AI Private Limited, but Microsoft Defender SmartScreen may still show a warning the first few times because the installer is new. Here's how to proceed safely.

1

Click "More info" on the SmartScreen warning

After running SuperBased-Setup.exe, Windows may show a pink dialog titled "Windows protected your PC". Click the small More info link below the message — don't click the X.

Windows SmartScreen warning showing More info link
2

Verify the publisher and click "Run anyway"

The dialog will expand to show the app name and publisher. Confirm the publisher reads Gaja AI Private Limited, then click Run anyway to start the installer.

From here the standard NSIS installer takes over — pick an install location, accept the license, and you're done.

Windows SmartScreen showing publisher and Run anyway button

Why does this happen? Microsoft SmartScreen builds reputation for new signed binaries over time. The warning will disappear automatically once enough installs have happened. Your install is fully signed and verified — there is no risk.

macOS install guide

First time installing on macOS?

SuperBased is notarized by Apple. After installing, you'll need to grant a few system permissions for capture, voice dictation, and global shortcuts to work.

1

Open the .dmg and drag SuperBased to Applications

Double-click the downloaded SuperBased-x64.dmg (Intel) or SuperBased-arm64.dmg (Apple Silicon) file. A window will open showing the SuperBased icon and a shortcut to your Applications folder. Drag the SuperBased icon onto the Applications folder.

SuperBased dmg window with drag-to-Applications layout
2

Confirm the "downloaded from the internet" prompt

The first time you launch SuperBased from Applications, macOS will ask whether you want to open an app downloaded from the internet. Click Open to launch it.

macOS prompt asking to open SuperBased downloaded from the internet
3

Allow Accessibility access

SuperBased uses Accessibility to listen for global shortcuts (like the capture and dictation hotkeys). Open System Settings → Privacy & Security → Accessibility and toggle SuperBased on. macOS will prompt you the first time you trigger a shortcut.

macOS Accessibility settings showing SuperBased toggle enabled
4

Allow Screen Recording

This is what lets SuperBased actually capture your screen. Open System Settings → Privacy & Security → Screen Recording and toggle SuperBased on. You'll be asked to quit and reopen SuperBased after granting it.

macOS Screen Recording settings showing SuperBased toggle enabled
5

Allow Microphone access (only if you'll use voice dictation)

Optional — only needed if you plan to use the push-to-talk voice dictation feature. Open System Settings → Privacy & Security → Microphone and toggle SuperBased on.

macOS Microphone settings showing SuperBased toggle enabled

Tip: You only need to grant these permissions once. SuperBased will remember them across updates. If a feature stops working after a major macOS upgrade, re-checking these toggles is the first thing to try.

Headless / CLI install guide

Using an AI coding assistant?

For developers using Claude Code, Cursor, Windsurf, Codex, Cline, OpenCode, OpenClaw, Zed, or Copilot CLI. No GUI needed — SuperBased runs as a background server and exposes 72 MCP tools for screenshot capture, OCR, voice dictation, visual testing, and the full GUI automation suite (click, type, scroll, drag, sequence orchestration with humanization).

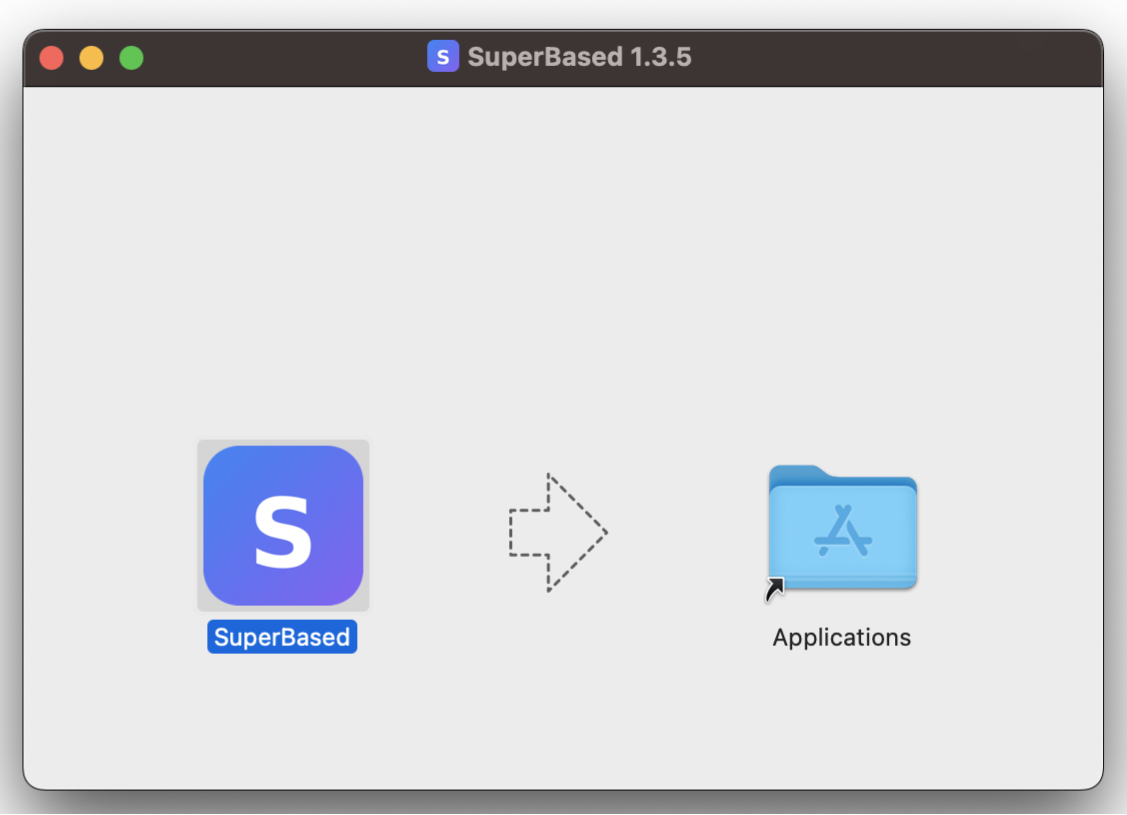
Step 1: Install via npm

npm install -g superbased

Requires Node.js 18+. Installs the superbased CLI globally (~55 MB).

Step 2: Install plugin or add MCP server

Claude Code — install the plugin for 22 slash commands, 7 skills, and 2 agents:

/plugin marketplace add marmutapp/superbased-claude-code-plugin /plugin install superbased@superbased-tools

Cursor — plugin available at marmutapp/superbased-cursor-plugin (22 commands + 3 Cursor rules)

Codex — plugin available at marmutapp/superbased-codex-plugin

Copilot CLIcopilot plugin install marmutapp/superbased-copilot-plugin

Cline — submitted to Cline MCP Marketplace (pending approval)

All editors (MCP config) — add to your editor's MCP config file:

{ "mcpServers": { "superbased": { "command": "superbased", "args": ["mcp"] } } }

OpenAI Codex — add to ~/.codex/config.toml:

[mcp_servers.superbased] enabled = true url = "http://127.0.0.1:47592/mcp"

See full setup guide for all editors. The /mcp endpoint uses Streamable HTTP transport for URL-based clients.

Step 3: Sign in (optional)

superbased auth login

Opens your browser for sign-in. After authenticating, the token is stored locally and shared with the desktop app if you install it later.

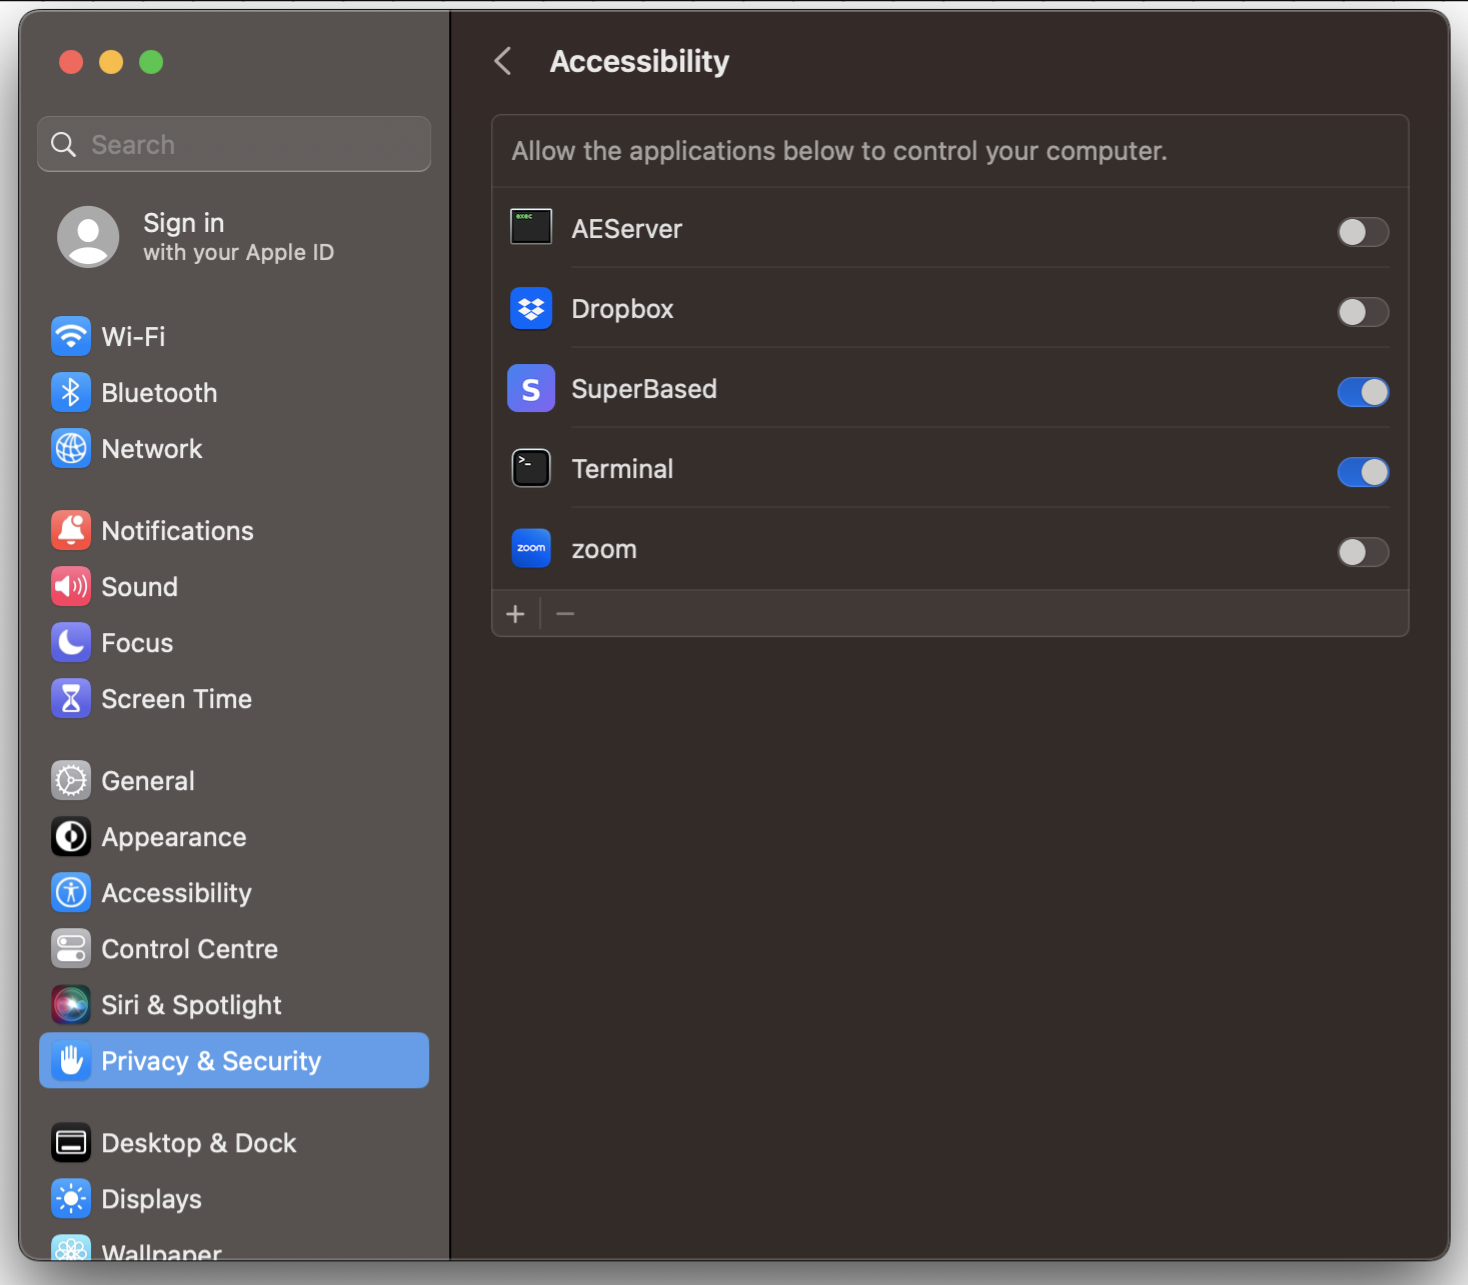
What works without signing in
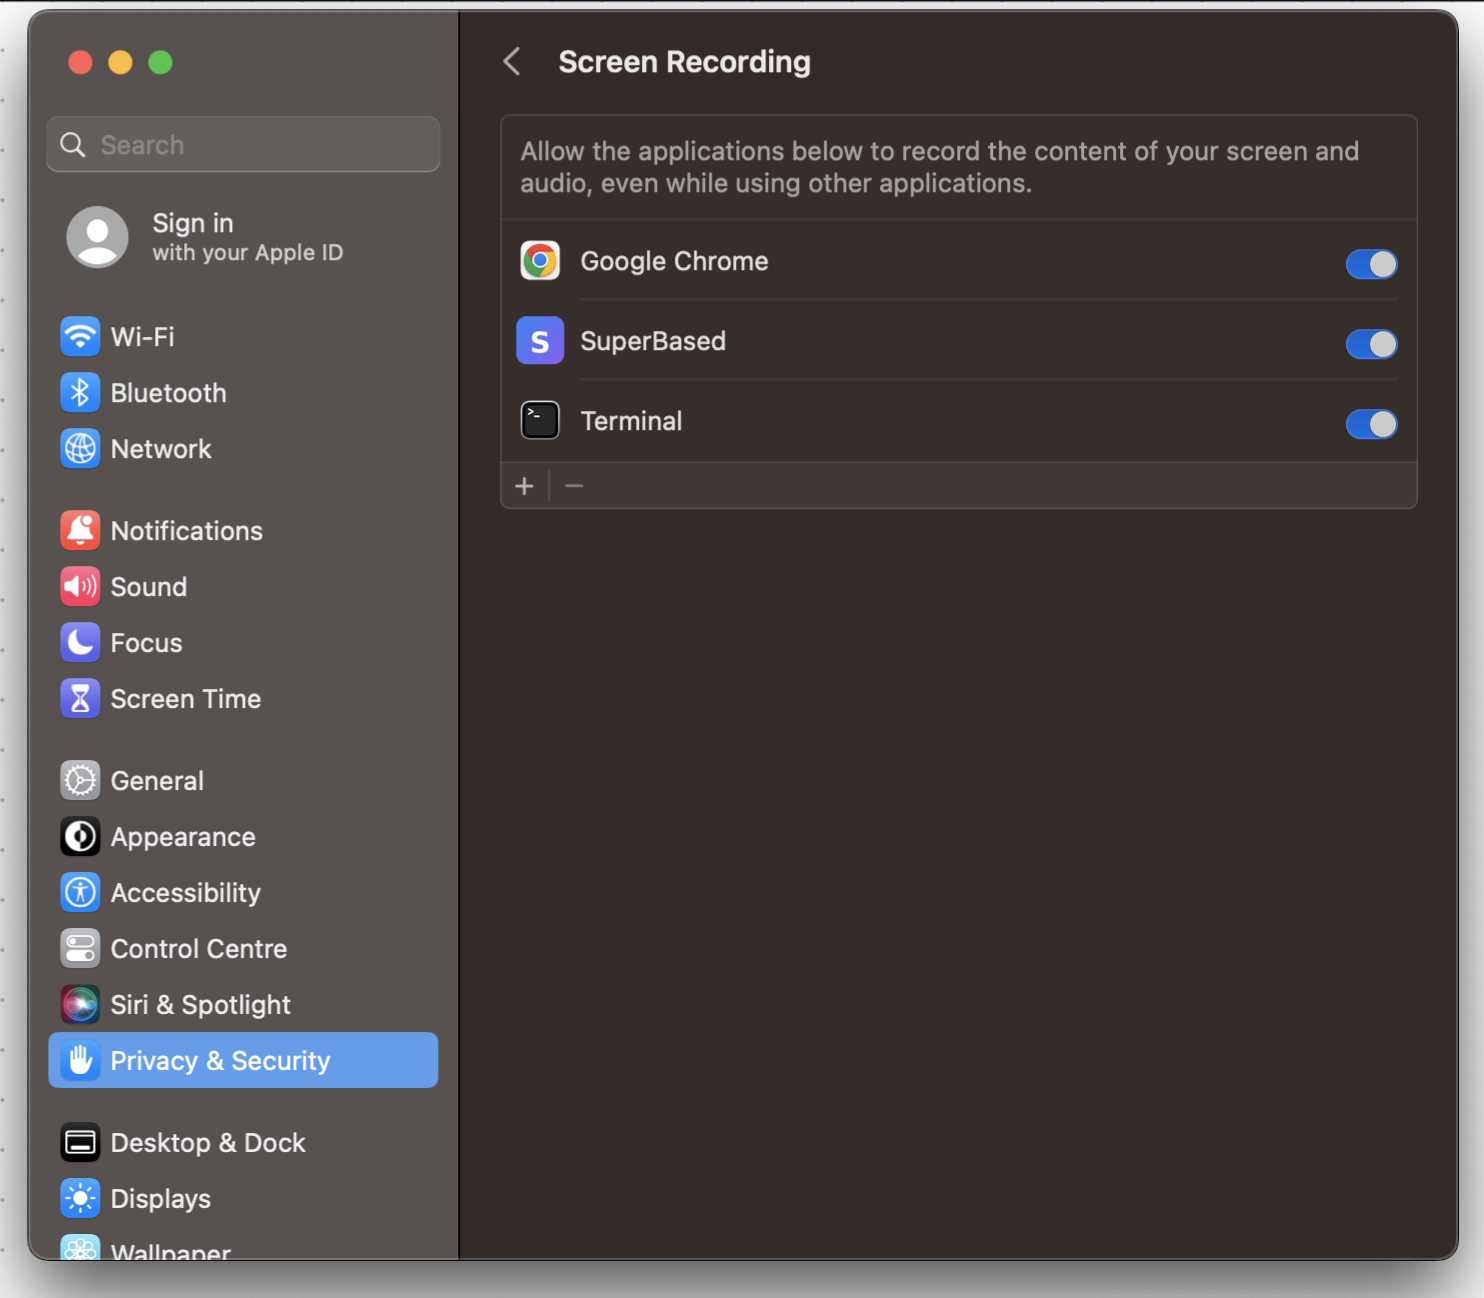
Screen Capture

Fullscreen, region, and window-targeted screenshots with resolution control for token efficiency.

OCR

Local text extraction from any screenshot using Tesseract. No data leaves your machine.

Gallery

Persistent capture history with full-text search, tags, and notes. All stored locally in SQLite.

Token Compression

Compress large text into optimized images for massive context window savings.

What requires signing in

AI Analysis

Vision-based code review, error analysis, UI inspection. Powered by your plan's AI quota.

Voice Dictation

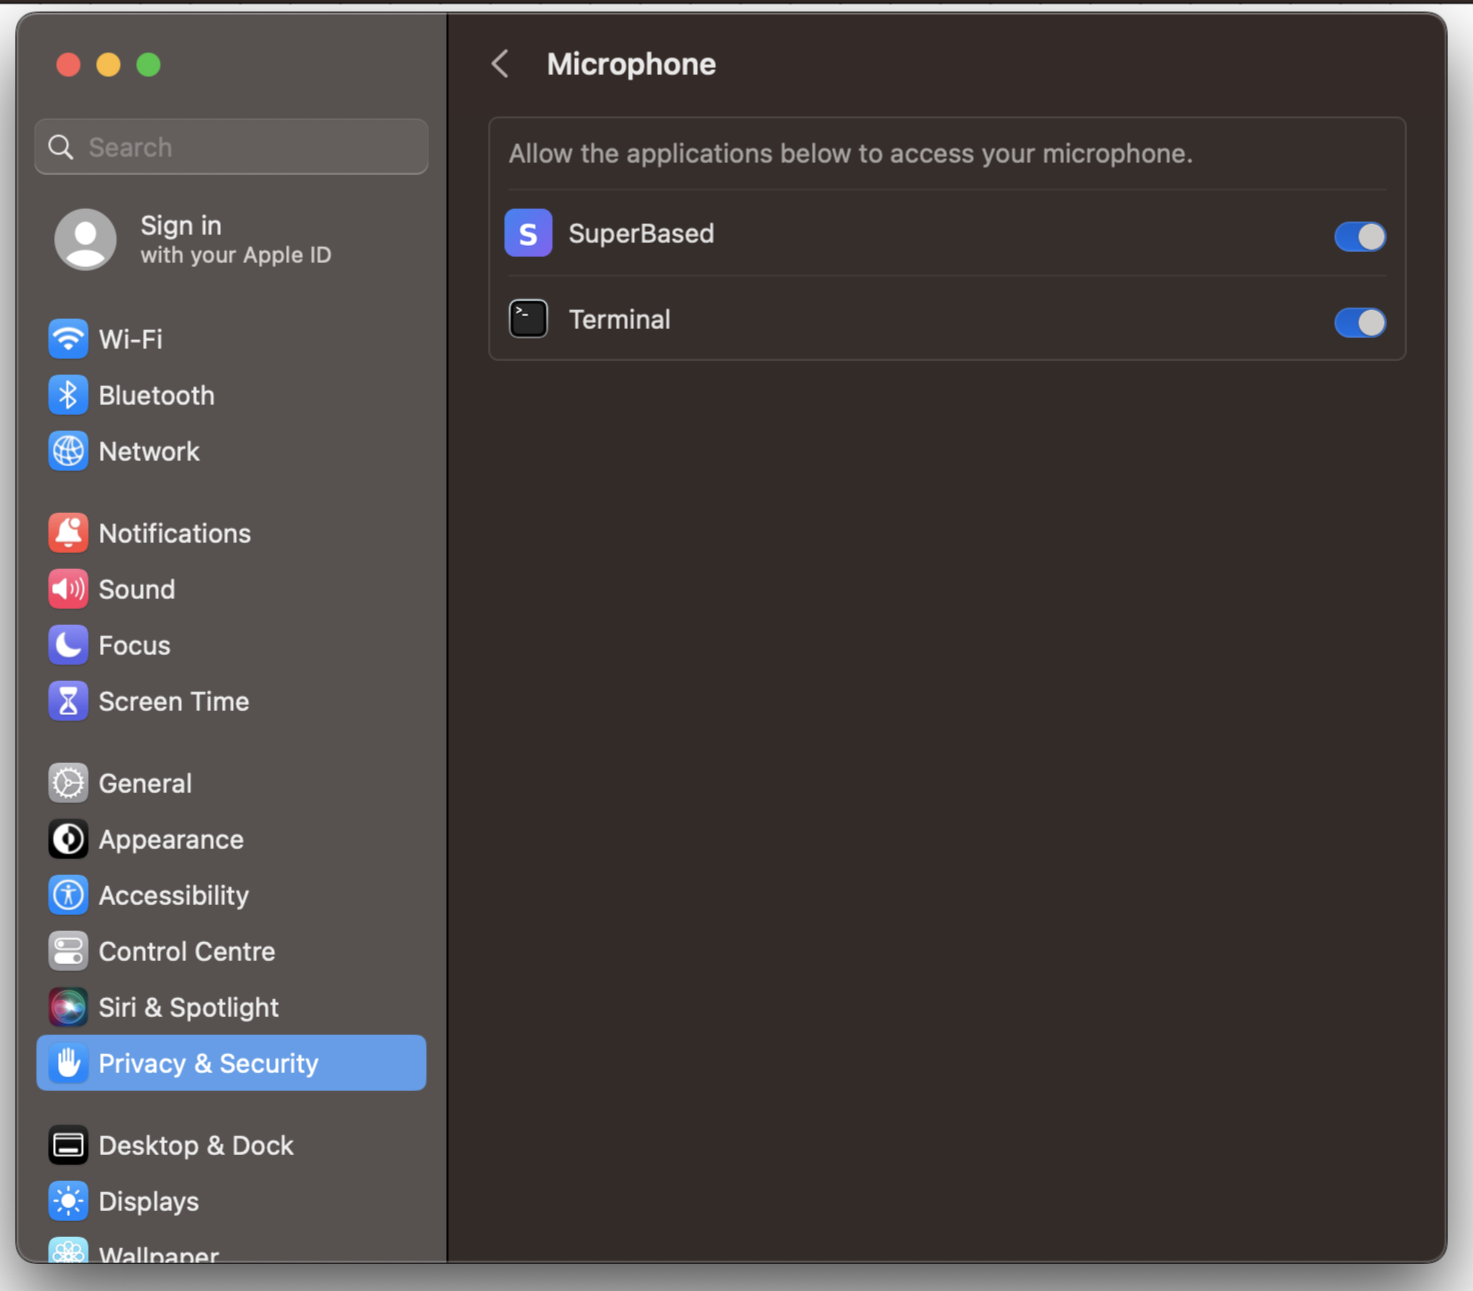
Transcribe audio files or record live from your microphone. ffmpeg is bundled automatically.

Recording + Visual QA

Automated screenshot recording, session diff, visual regression testing, and session export.

Auto-Redaction

Automatically detect and redact API keys, tokens, passwords, and PII from captures.

Upgrading to the desktop app

If you later install the desktop app, everything carries over automatically — your captures, settings, auth token, presets, and recording sessions. Zero migration, no re-authentication. The desktop app adds a full GUI with overlay, image editor, tray icon, global hotkeys, and scroll capture.

Available CLI commands

superbased Start headless server (default) superbased serve Start server with options (--port N) superbased mcp Start API server + MCP bridge (for AI editors) superbased auth login Sign in via browser superbased auth status Show authentication state superbased auth logout Clear stored token superbased capture Take a screenshot, print file path superbased --version Show version superbased --help Show all commands

72 MCP tools are available covering capture, AI, OCR, gallery, settings, presets, recording, visual QA, token compression, dictation, annotations, clipboard, plus the full GUI automation suite (click, type, hotkey, scroll, drag, hover, AX-invoke, form-fill, dialog-handle, find-image, tab-management, find-in-page, virtual-desktop, tray-click, sequence orchestration). See the documentation for the full tool reference.